Visit the web page Bam Bam Holsters
This holster was for someone special and they were curious as to how it was done so I took pics of the process and thought I would share the process here.
Starts with the paper. If the paper is wrong, I don't find out until the end. In other words, the paper is very important.
Lay out a side of leather and trace it out.

Cut it out, Sand the edges

Transfer marks from paper, to know where to stitch, Bevel. Put a grove in the leather, where I will be sewing. Case the leather and then stamp it.

After it dries, Apply Dye

After it dries, buff it and then get out the air brush and put the black accents on.

Punch some holes to accommodate the thumb break hardware.
Burnish the edges on the Re enforcement piece.

The hardware is encased in between the pieces of leather.

Apply contact cement.

Press it together and off to sew. Then work the edges over again.

Fold in half, cement the ear and sew again. Punch the belt slot hole. Sand some more.

Dye the edges

Burnish once again.

Burnish, Burnish, Burnish

Dunk the whole thing in water, shove the blue gun in and form the whole thing with my thumbs.

Off to the easy bake oven for bout an hour and then begin "boning" it in .
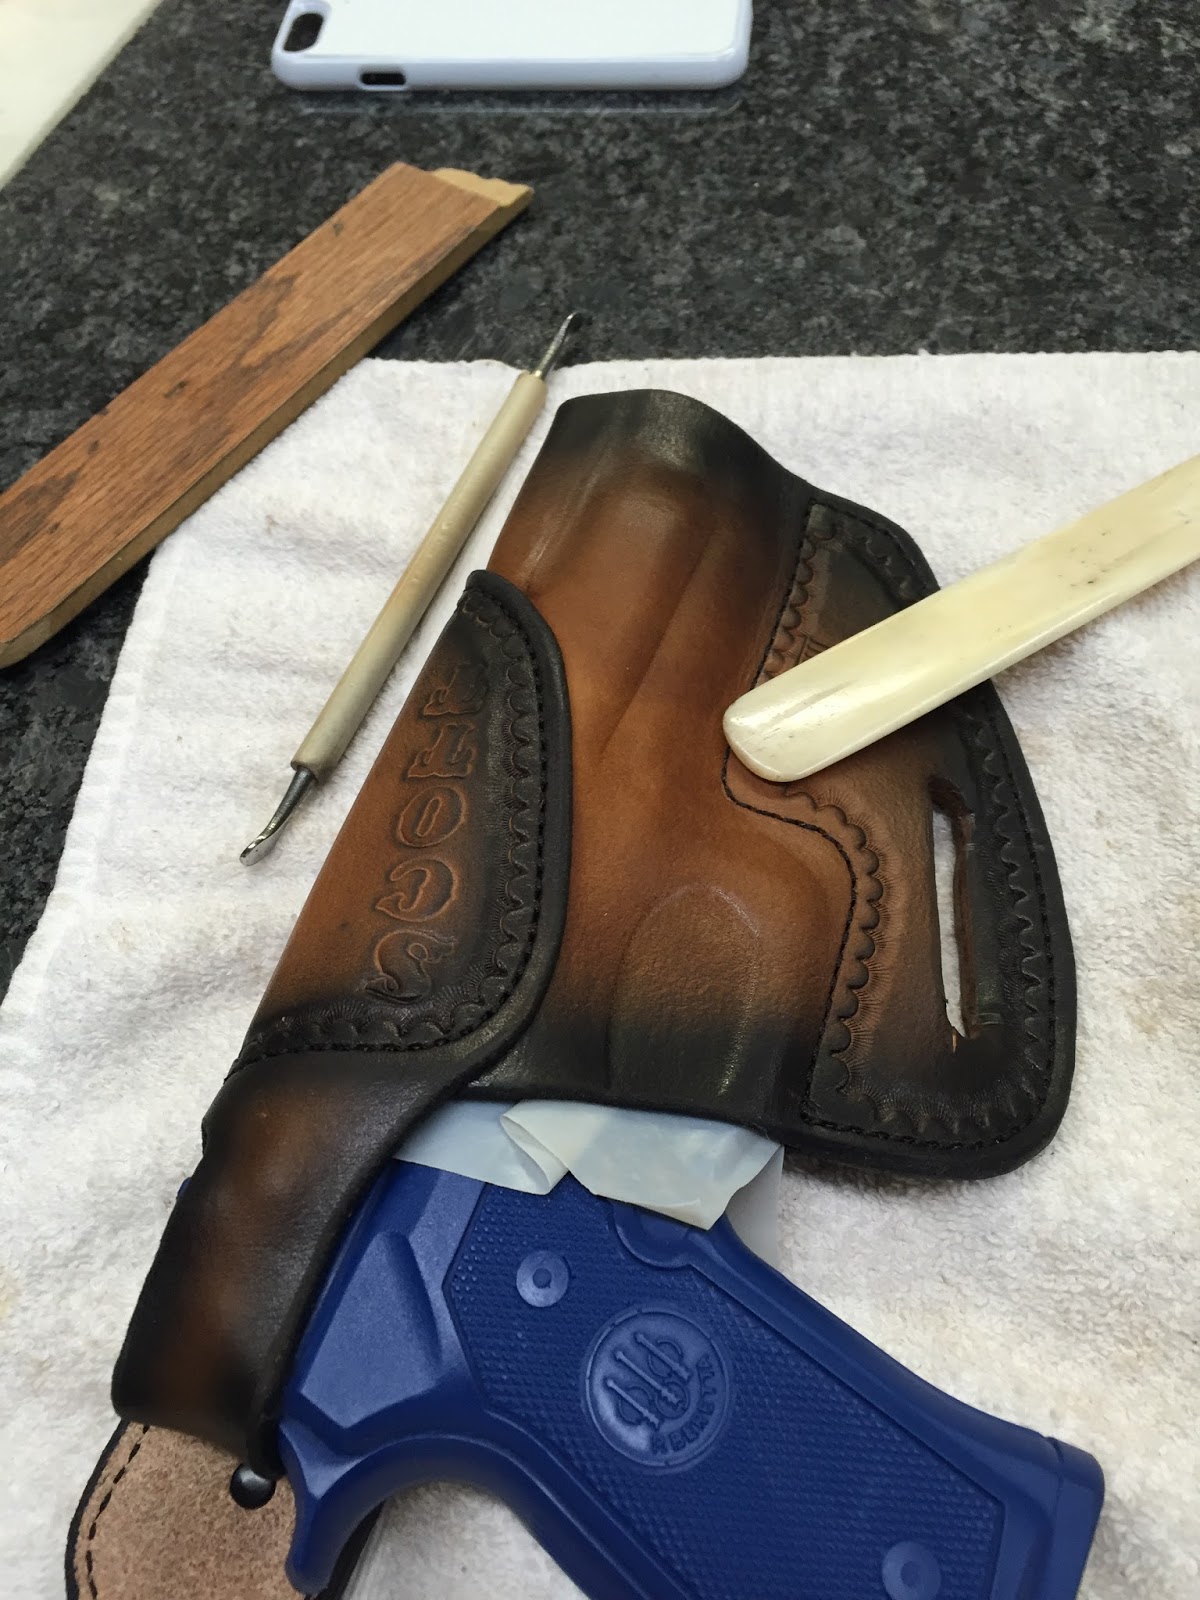


Once it has dried completely, burnish all the edges one last time and apply sealant.

There you go......Easy breezy
Fresh off the bench
 |
| 1911 avenger |
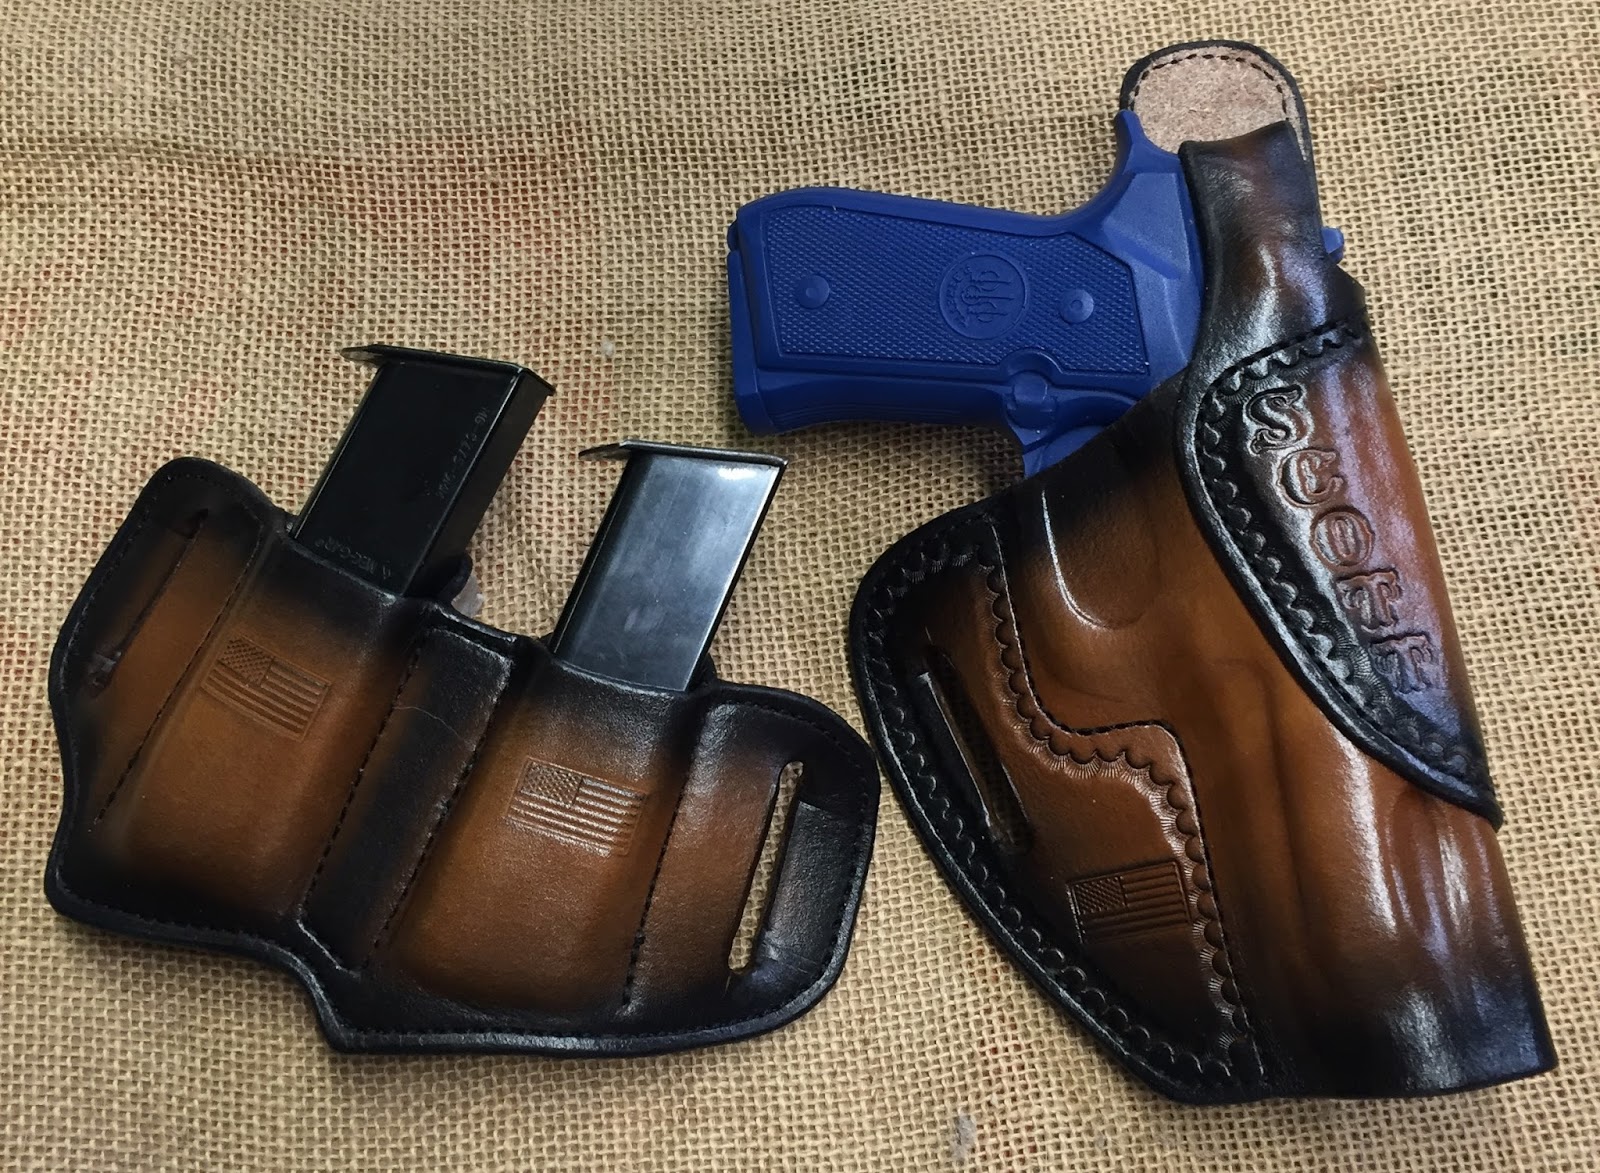 |
| barretta 92 setup |
 |
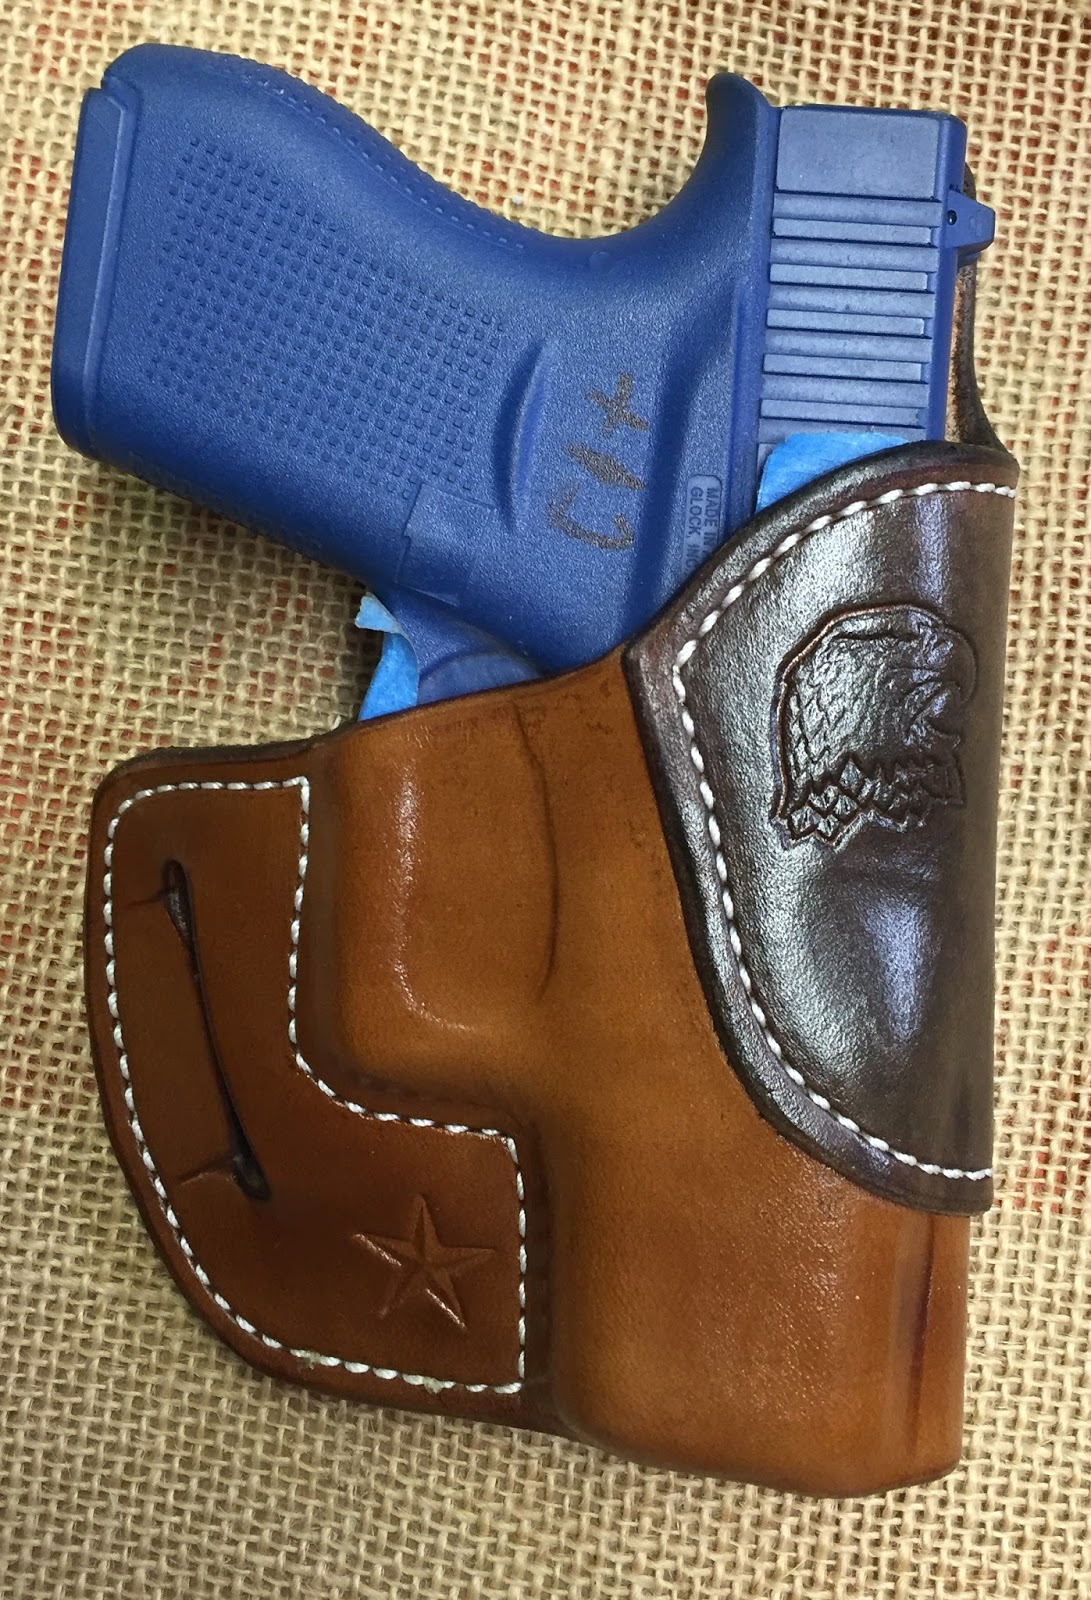
| Body guard 380 set up |
 |
| Gun Belt |
 |
| Omni for a Glock 19 |
 |
| Glock 43 Avenger |
 |
| Glock 43 avvenger |
 |
| Avenger for a taurus Judge |
 |
| Koozie |
 |
| cell phone holders |
 |
| IWB set up for a Ruger |
Love them all, especially the belt that has the blue on it.
ReplyDelete